
The second part of this MiniPet 40/80 Make focuses on the keyboard and the ICs.
The keyboard is a “chiclet” style affair, that’s very much modelled on the original PET 2001 keyboard. It was a bloody awful keyboard back then, and it’s still a bloody awful keyboard now. But this is about the nostalgia and the retroness (is that a word?) rather than subjective usability. They say nostalgia isn’t what it used to be, but when it comes to this keyboard, yes it damn well is! See the Wikipedia article on the Commodore PET for how the original chiclet keyboard looked.
The last major part of construction is to fit the ICs into their sockets. Apart from the ROM, these are all current ‘in production’ chips (although the modern WDC 65C02 is not pin compatible with the old MOS Technology one, so no swapsies!) It does mean though that the legs need bending into shape before they can be inserted (I had several misfires, where one leg didn’t go quietly and missed its hole or bent right over).
There’s one more step to go, which is fitting the prospect cover, but there’s no point in doing that until we know that it works, is there? And testing it comes next week.
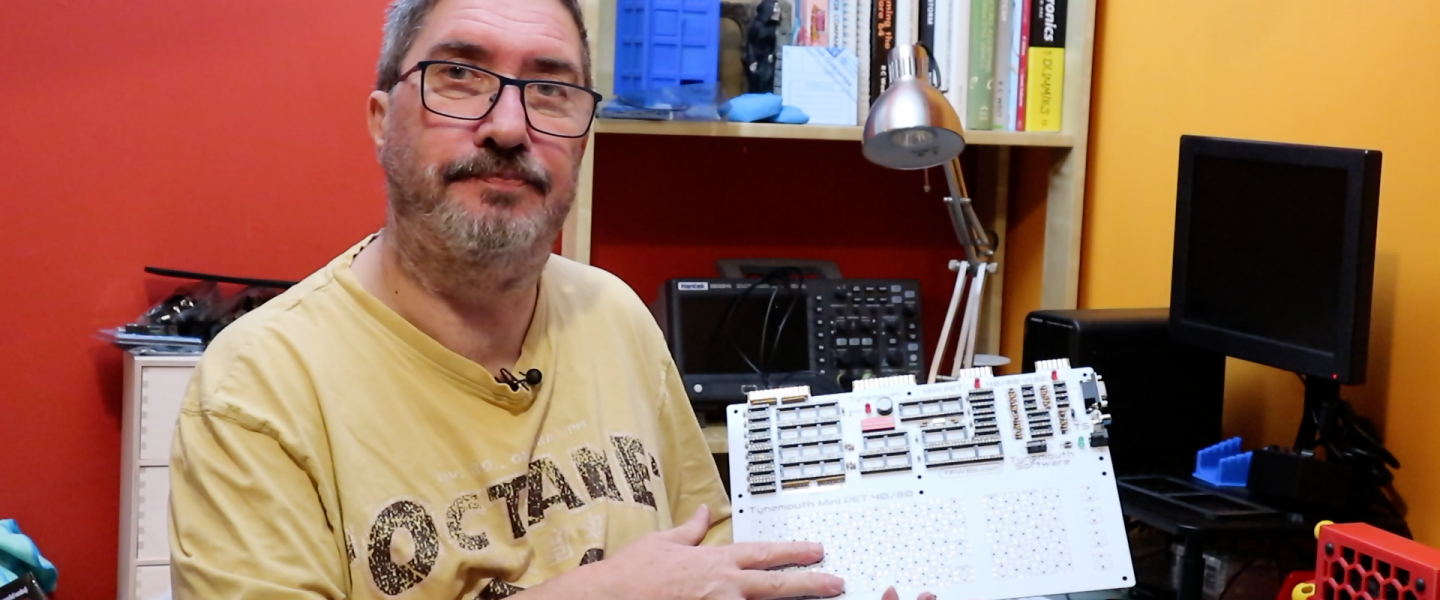
I’ve been asked what the red honeycomb thing is. That’s a solder fume extractor (well, not really an extractor, but it sucks the fumes away). Solder fumes, and more particularly, flux fumes, are not good for you, so you don’t want to go breathing them. This little extractor is simply a 120mm PC case fan plugged into a 12v ‘wall wart’. It has a 3d printed box to hold it, and a square of activated charcoal on the back to help clean the air.