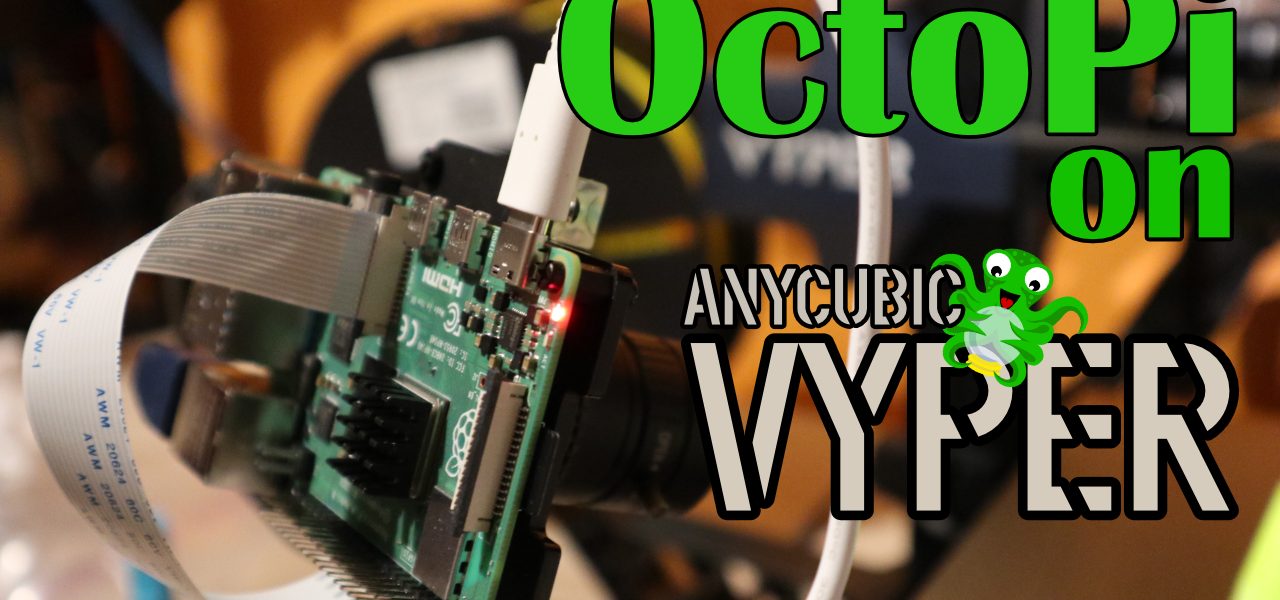
In this video I add an OctoPi and HQ Camera to my 3D printer.
A 3D printer is a useful tool in any maker’s arsenal, and combining it with a Raspberry Pi running Octoprint improves the experience not just in terms of usability and feedback, but also with management tools and analytics.
The Raspberry Pi (model 4B in my case, although it’ll work with most varieties) runs a program called Octoprint. The Pi is connected via USB to your 3D printer and via Ethernet or WiFi to your LAN. Octoprint has a web interface, and you can log in to it from any web browser on any computer, tablet, phone etc. With some extensions installed, you can log into it from anywhere on the planet (Or off it, if you have a spaceship with an internet connection…). This web interface allows you to monitor the status of your 3D printer, send commands and print jobs to it, perform various housekeeping functions etc. from wherever you happen to be.
You can connect a camera to the Raspberry Pi, and in this video I connect the Pi HQ Camera plus 6mm lens. This captures video and images in 1080p. A live video stream is available through the Octoprint interface, and you can also capture timelapse footage to be downloaded later.
Another benefit is that your slicer software (Cura in my case) can connect directly to Octoprint, and send gcode files directly, meaning you no longer need to faff about with saving to an SD card and transferring the SD card to the printer.
Since installing OctoPi, I’ve added a number of plugins, one of which is Filament Manager. This hardly little plugin keeps track of how much filament you have left on each of your spools, meaning you should know before you even start if you have enough filament to complete the print.